How to Calibrate a pH Meter for Healthy Plants
A nutrient tank can have the right feed strength and still leave plants looking hungry if pH is off. Knowing how to calibrate a pH meter gives you readings you can trust, so the nutrients in your reservoir remain available to your plants rather than becoming locked out.
For most hydroponic growers, pH is a small number with a big effect. When the reading drifts, you may chase deficiencies with extra nutrients, additives or unnecessary reservoir changes. A properly calibrated meter takes the guesswork out of water management and helps keep growth consistent from propagation through to harvest.
Why pH meter calibration matters
Your pH meter measures the concentration of hydrogen ions in a solution. The probe does this through a sensitive glass electrode, which gradually changes as it is used, stored and exposed to nutrient salts. Calibration tells the meter what known pH values look like, allowing it to measure your nutrient solution accurately.
In hydroponics, most plants perform well with a root-zone pH around 5.5 to 6.5, although the best target depends on the crop and growing medium. Within this range, essential elements such as nitrogen, calcium, magnesium and phosphorus are generally easier for roots to absorb. A reading that is only a few tenths out can matter, especially in recirculating systems or small reservoirs where conditions change quickly.
Freshly mixed nutrients, high temperatures, organic additives and frequent use all make regular calibration worthwhile. If you are using a pH meter to make feeding decisions, it should be checked as routinely as your EC meter.
Before you calibrate a pH meter
Set up on a clean, stable bench away from direct light and fans. Allow the meter, buffer solutions and surrounding area to reach a similar temperature where practical. Temperature differences can affect readings, though meters with automatic temperature compensation reduce this issue.
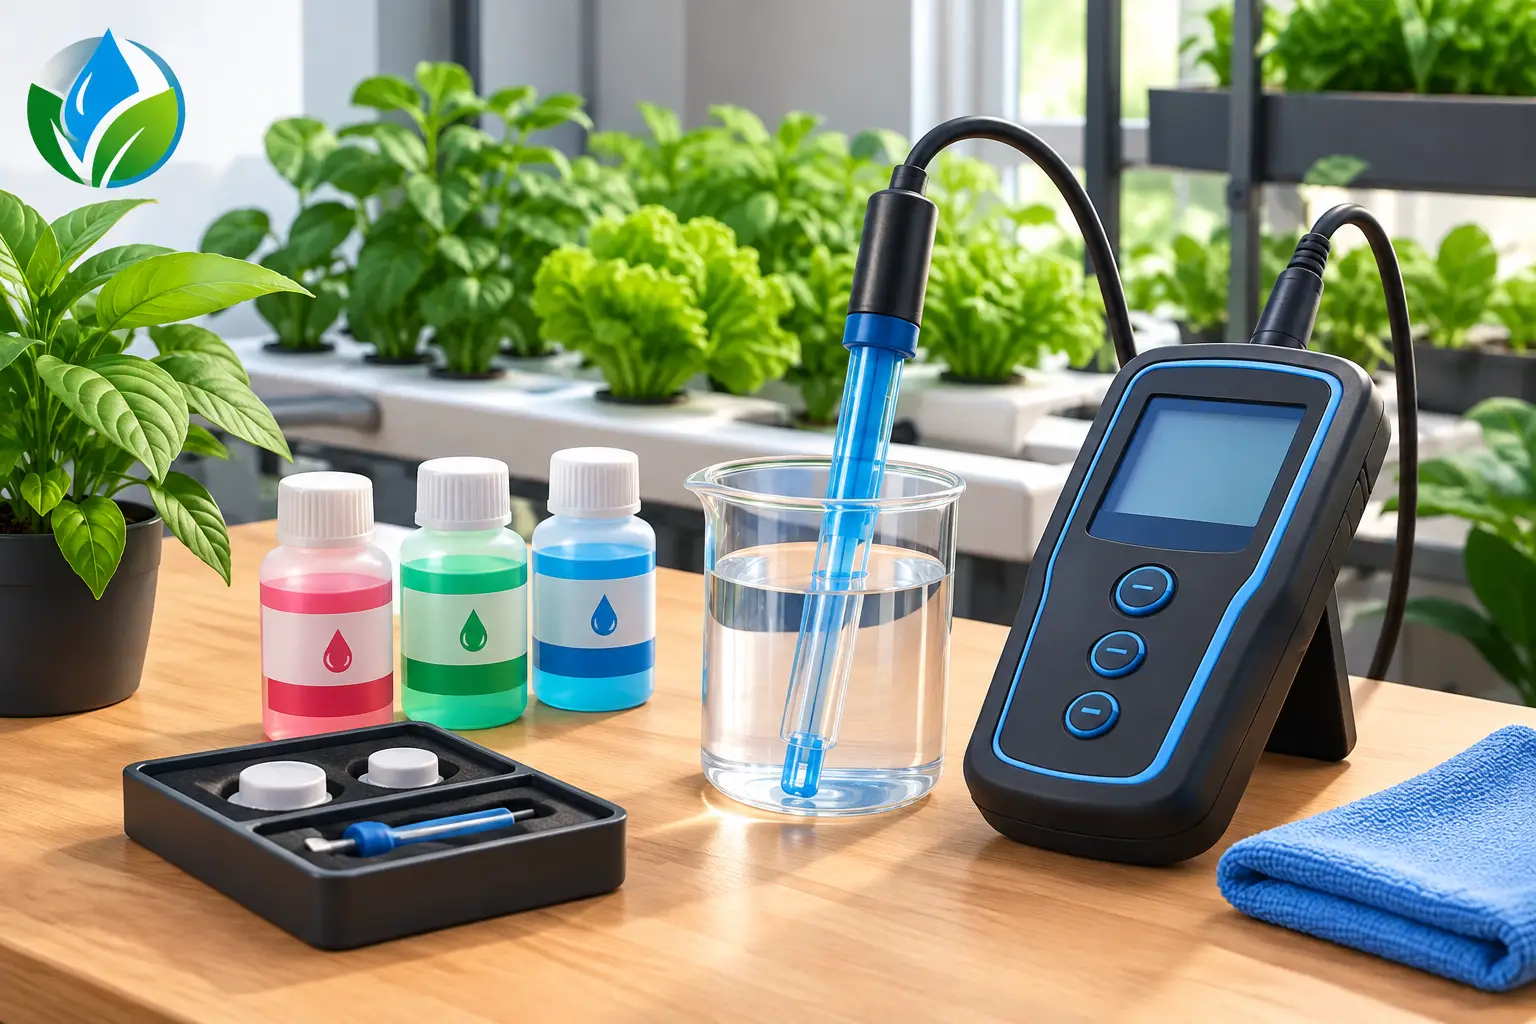
You will need four things:
- fresh pH buffer solutions, usually pH 4.01 and pH 7.00
- clean cups or small containers for each buffer
- distilled or deionised water for rinsing the probe
- a lint-free tissue or soft cloth for gently blotting the probe
Do not pour used buffer solution back into its original bottle. Once a probe has been dipped into it, the solution can be contaminated by water, nutrients or cleaning residue. Pour only the amount needed for the job, label the cups if necessary, then discard it when finished.
Check your meter manual before starting. Some models recognise buffers automatically, while others require you to press a calibration button or adjust a dial. The basic method is similar across pen meters, portable meters and bench meters, but following the manufacturer’s sequence is always the safest approach.
How to Calibrate a pH Meter Step by Step
Start by inspecting the probe. The glass bulb and junction should be wet and free of crusty nutrient deposits. If the probe is dry, allow it to sit in proper pH electrode storage solution before calibration. Never store a pH probe in distilled water, as it can shorten the life of the electrode.
- Switch the meter on and rinse the probe. Rinse with distilled or deionised water to remove storage solution. Gently blot it dry. Do not rub the glass bulb, as rubbing can create static and interfere with the reading.
- Calibrate at pH 7.00 first. Place the probe into fresh pH 7.00 buffer, ensuring the sensing bulb is submerged. Swirl it gently to release trapped air bubbles, then wait until the reading settles. Follow your meter’s instructions to confirm or save the calibration point.
- Rinse and blot the probe again. This prevents the pH 7.00 buffer from altering the next solution. A quick rinse is enough, but use clean water each time if you can.
- Calibrate at pH 4.01. Move the probe to fresh pH 4.01 buffer and wait for a stable reading. Confirm the second calibration point according to the meter instructions. For nutrient solution used in hydroponics, this two-point calibration covers the acidic range you are most likely to work in.
- Add a third point if your meter and application call for it. If you regularly test alkaline water, soil slurry or solutions above neutral, calibrate with pH 10.01 buffer as well. Always rinse between buffers.
- Verify the result. Return the rinsed probe to pH 7.00 buffer. It should read very close to 7.00 once stable. If it does not, repeat calibration using fresh buffers and make sure the probe is clean.
- Measure your nutrient solution. Rinse and blot the probe one final time, then place it in the reservoir or a clean sample cup. Let the value stabilise before adjusting pH. Avoid measuring directly beside an airstone or circulation pump, as bubbles and turbulent water can make a reading less stable.
Which buffer solutions should you use?
The right calibration points depend on the range you need to measure. For most indoor and hydroponic gardens, pH 7.00 and pH 4.01 are the practical pairing because your nutrient solution is normally slightly acidic. Calibrating at both points checks the meter across the range where your plants are fed.
A single-point calibration at pH 7.00 can be adequate for a quick check, but it is less reliable when you are measuring nutrient solution around pH 5.5 to 6.2. Two-point calibration takes only a little longer and gives a better picture of whether the probe is responding correctly.
If your source water is naturally alkaline, or you also test potting mixes and other higher-pH solutions, keep pH 10.01 buffer on hand. Three-point calibration is useful for broader testing, but it is not automatically better if the buffers are old or the probe needs cleaning. Fresh solutions and good handling matter more than adding unnecessary steps.
How often should you calibrate your pH meter?
For an active hydroponic system, calibrate at least once a week. Daily calibration makes sense when you are managing a high-value crop, a small reservoir, a changing nutrient program or a system where pH moves rapidly. It is also smart to calibrate before a major reservoir change and after the meter has been dropped, stored dry or left unused for a while.
A quality meter may hold calibration well, but do not assume it is accurate because the display switches on. A quick check in pH 7.00 buffer before testing can save a lot of frustration. If the meter is noticeably out, carries a slow or wandering reading, or refuses to recognise buffer, clean and recalibrate it before relying on it.
Keep the probe accurate between calibrations
Good probe care extends meter life and makes calibration faster. After measuring nutrient solution, rinse the electrode with clean water and return the cap with enough storage solution to keep the sensing bulb moist. Check the cap regularly, particularly in warm grow rooms where liquid can evaporate.
Nutrient salts and organic products can build up on the probe over time. Use a purpose-made pH electrode cleaning solution when readings are sluggish or calibration becomes difficult. Avoid harsh household cleaners and never scrape the glass bulb. If the probe still cannot calibrate after correct cleaning, fresh buffer and proper storage, it may be nearing the end of its service life.
Also keep buffer bottles sealed, clean and within their use-by date. Old, heat-exposed or contaminated buffers are one of the most common reasons a perfectly good pH meter appears inaccurate.
When the reading still does not make sense
Before adding pH up or pH down, give a newly mixed reservoir time to circulate thoroughly. Nutrients, additives and water temperature all need a chance to settle. Then take a sample away from pumps and air stones, check the meter in buffer, and test again.
If your reading changes every time you test, look first at probe condition, storage solution and buffer freshness. If the meter is accurate but the reservoir pH keeps climbing or falling, the cause may be biological activity, water alkalinity, a dirty reservoir or a nutrient mix that does not suit the source water. The answer is not always more pH adjuster.
A few careful minutes before each feed can prevent days of avoidable plant stress. If you are unsure which meter, buffer or storage solution suits your setup, the Hunter Hydro team can help match the right option to your grow, because reliable measurements make bigger yields far simpler.