A powerful LED can turn a well-managed grow space into a productive garden, but only when it is positioned properly. Learning how to set LED grow light height is one of the quickest ways to prevent stretched seedlings, pale growth, leaf stress and disappointing yields. The right height gives plants enough usable light for photosynthesis without overwhelming them with heat or intensity.
There is no single mounting height that suits every LED, plant or grow space. A compact light in a propagation area needs a very different setup to a high-output fixture over a full tent canopy. Your light’s power, lens angle, dimmer setting, growth stage, photoperiod, plant variety and surrounding environment all affect the final position.
How to Set LED Grow Light Height Safely
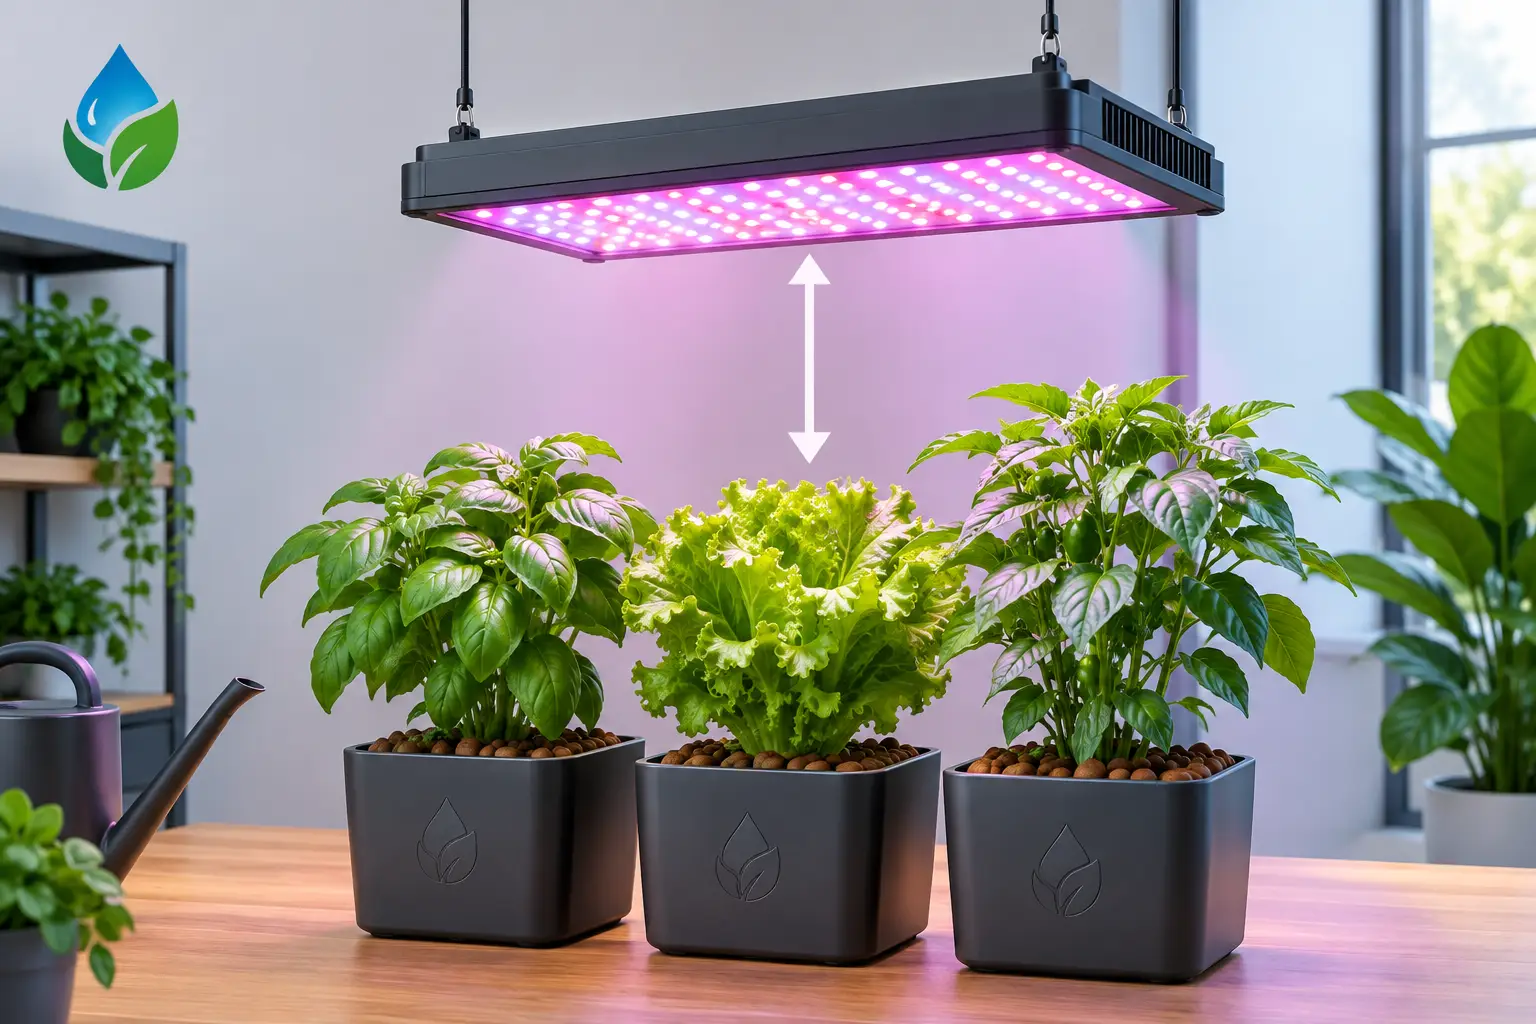
Start with the manufacturer’s recommended hanging range for your specific fixture. Quality LED grow lights are designed differently, and a 100-watt light can behave very differently from a 600-watt multi-bar fixture. The recommended range is the safest starting point because it accounts for the LED’s output, spread and intended coverage area.
When no guidance is available, begin a little higher than you think you need. For many full-spectrum LEDs, that may mean around 60 to 90 cm above seedlings, 45 to 60 cm above vegetative plants, and 30 to 45 cm above flowering plants. These are starting points, not fixed rules. A high-output commercial-style LED may need to remain higher, while a lower-powered unit may need to sit closer to the canopy.
Measure from the light source to the highest healthy leaf tips, not from the floor, pot or top of the tent. As plants grow, their canopy rises quickly. Checking the distance every few days can stop the tallest tops from drifting into an overly intense zone.
Height and dimming work together. If your fixture has a dimmer, it is often better to keep the light at an even height and reduce power for young plants than to hang it excessively high. A very high light can create uneven coverage, with strong light in the centre and weak light around the edges. Dimming can give seedlings a gentler start while maintaining a more useful spread across the tray.
Match Light Height to the Growth Stage
Seedlings and cuttings
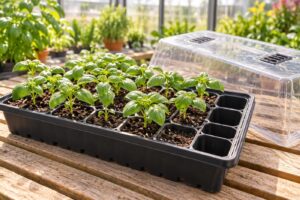
Young plants have small root systems and limited capacity to use intense light. Their priority is establishing roots, developing early leaves and growing steadily without stress. Keep LEDs higher or dimmed down during this stage, aiming for soft, even coverage rather than maximum brightness.
A rough target is 100 to 300 PPFD for seedlings and fresh cuttings. PPFD stands for photosynthetic photon flux density – the amount of plant-useful light landing on a square metre each second. You do not need to obsess over numbers on day one, but understanding them makes lighting adjustments far more reliable than judging brightness by eye.
Watch for seedlings stretching too much. Long, thin stems and large gaps between leaves usually mean the light is too far away or too dim. Move the fixture down gradually or increase the dimmer setting in small increments. Do not make a drastic change overnight.
Vegetative growth
Once plants are actively producing leaves and branches, they can use more light. Many indoor plants perform well around 300 to 600 PPFD in veg, depending on the variety, plant health and daily light period. This is the stage where correct LED height helps build a dense, even canopy capable of supporting stronger production later.
Lower the light slowly, often by 5 to 10 cm at a time, and give plants two or three days to respond. Strong vegetative growth should be compact, evenly coloured and vigorous. If new leaves are healthy and growth is stacking tightly without curling or bleaching, you are moving in the right direction.
Flowering and fruiting
Flowering and fruiting plants generally need the highest light levels, but more intensity is not automatically better. In a well-controlled environment, many growers aim for 600 to 900 PPFD during peak flowering. Pushing beyond that can work in some advanced rooms, particularly with added carbon dioxide, precise irrigation and excellent temperature control. Without those conditions, excessive light can slow plants down rather than improve yield.
Keep the fixture high enough to cover the full canopy evenly. A bright centre surrounded by shaded corners creates uneven plant development and makes it harder to manage feeding and watering. If the centre tops are showing stress while the outer plants are reaching for light, raise the fixture slightly or reduce power before changing other parts of the grow.
Read Your Plants Before Changing the Light
Your plants will usually tell you when LED height needs attention. A healthy response is upright leaves, consistent colour, steady growth and manageable internode spacing. Light problems can look similar to nutrient or heat issues, so assess the whole environment before assuming the fixture is at fault.
Common signs your LED is too close or intense include:
- Bleached, pale or yellow patches on the newest growth, especially directly under the fixture.
- Leaf edges curling upward, often called tacoing or canoeing.
- Leaves that feel unusually dry or brittle despite suitable watering.
- Growth that slows at the top of the canopy while lower growth appears healthier.
When the light is too far away, plants often stretch towards it. Internodes lengthen, stems can become weaker, and lower parts of the plant may receive too little light. However, stretching can also be caused by warm temperatures, crowded plants or genetics, so make adjustments based on several signs rather than one symptom.
Heat deserves separate attention. LEDs run cooler than older lamp technologies, but the fixture can still warm leaf surfaces and build heat at canopy level. Use a thermometer at plant height, not only at the top of the tent. Good extraction, circulation fans and sensible fixture spacing help maintain a stable environment around the leaves.
Use PPFD and DLI for More Accurate Results
A PAR metre is one of the most useful tools for serious indoor growers because it measures PPFD across the canopy. Take readings in the centre, corners and between plants to reveal whether your coverage is even. This is particularly valuable in larger tents, greenhouses and multi-light rooms where a small height adjustment can improve uniformity.
PPFD tells you light intensity at a moment in time. Daily light integral, or DLI, tells you how much light the plant receives across the full day. A plant under 500 PPFD for 18 hours receives a different daily dose from a plant under 500 PPFD for 12 hours. That is why a light setting that works during vegetative growth may be too strong when the photoperiod changes.
For a simple guide, plants under an 18-hour schedule can often handle moderate PPFD without excessive daily light. Under a 12-hour flowering schedule, growers may need a higher PPFD to maintain a productive DLI, but only if the plant has the water, nutrients and environmental control to support it.
If you do not own a PAR metre, use your fixture’s map as a guide and make careful plant-led adjustments. Mobile light meter apps can provide a rough indication, but they are not a substitute for a proper PAR reading when chasing consistent, repeatable results.
Keep the Canopy Level
LED height is much easier to manage over an even canopy. A few tall tops can sit 15 cm closer to the fixture than the rest of the plant, receiving significantly more intensity. That can lead to light stress at the top while the lower canopy remains underlit.
Use plant training, support netting or simple plant risers to keep growing tips at a similar level. In mixed gardens, group plants with similar light needs together where possible. A shade-loving houseplant and a fruiting crop may both grow indoors, but they should not be managed under the same high-intensity setting.
Also consider reflective walls, tent size and fixture coverage. A light hung too close may create harsh hotspots even when the overall power seems reasonable. A light hung too high can spill photons onto walls and walkways instead of leaves. The best height is the one that puts useful, even light across the active canopy.
Make Changes Slowly and Track the Result
Avoid changing light height, nutrient strength, watering frequency and temperature settings all at once. If plants respond poorly, you will not know which change caused the problem. Adjust one lighting variable, then observe the new growth over several days.
Keep a simple grow diary with fixture height, dimmer percentage, canopy temperature, feeding notes and plant response. It takes only a minute, and it makes each crop easier to improve. Once you find a setting that produces healthy, even growth, you have a reliable baseline for the next cycle.
The goal is not to get the LED as close as possible. It is to give every plant enough light to thrive while keeping water, nutrients, airflow and temperature in balance. If you are unsure whether to raise the fixture or increase power, start gently, watch the newest growth and let the plants guide the next adjustment.