How to Buffer Coco Coir for Healthier Plants
Fresh coco coir can look clean, light and ready to plant into, but knowing how to buffer coco coir can save a grow from frustrating calcium and magnesium issues later. This matters most when you are using compressed bricks, loose unbuffered coir or any product where the treatment process is unclear. A properly buffered coco root zone holds water and air beautifully while giving your nutrient program a much more reliable starting point.
Why coco coir needs buffering
Coco coir is made from processed coconut husk fibre. It is an excellent growing medium because it drains freely, retains moisture and keeps plenty of air around the roots. Those qualities make it popular for hand-watered pots, automated irrigation and run-to-waste hydroponic systems.
The catch is its natural cation exchange capacity. In plain terms, coco has negatively charged sites that can hold onto positively charged nutrient elements. Fresh or poorly processed coco often carries potassium and sodium on those sites. When you begin feeding a plant, the coir can exchange some of that potassium and sodium for calcium and magnesium from your nutrient solution.
Your plant may then receive less calcium and magnesium than the EC reading suggests. New growth can become weak or distorted, leaves may show interveinal yellowing, and overall growth can lose pace. It is easy to mistake these symptoms for a feeding problem, then add more nutrients and make the root zone less balanced.
Buffering loads the coco’s exchange sites with calcium and magnesium before the plant goes in. It does not turn coco into soil, and it does not replace a complete nutrient program. It simply means the media is less likely to rob essential elements from your first feeds.
Buffered coco versus washed coco
Washing and buffering are related, but they are not the same job. Washing removes excess salts, fine material and residues from processing. Buffering conditions the coir with calcium and magnesium.
Quality bagged coco from reputable hydroponic brands is usually pre-washed and pre-buffered. In that case, you normally do not need to repeat a full buffer. Hydrate it, check the runoff EC if you want confirmation, and begin with a suitable coco nutrient at a sensible strength.
Raw bricks, bargain coir with no clear label, loose horticultural fibre and coir collected from an uncertain source deserve more caution. If it has a salty smell, produces high-EC runoff or is simply unlabelled, wash and buffer it. The time spent now is far easier than correcting deficiencies in a crop that is already established.
What you need to buffer coco coir
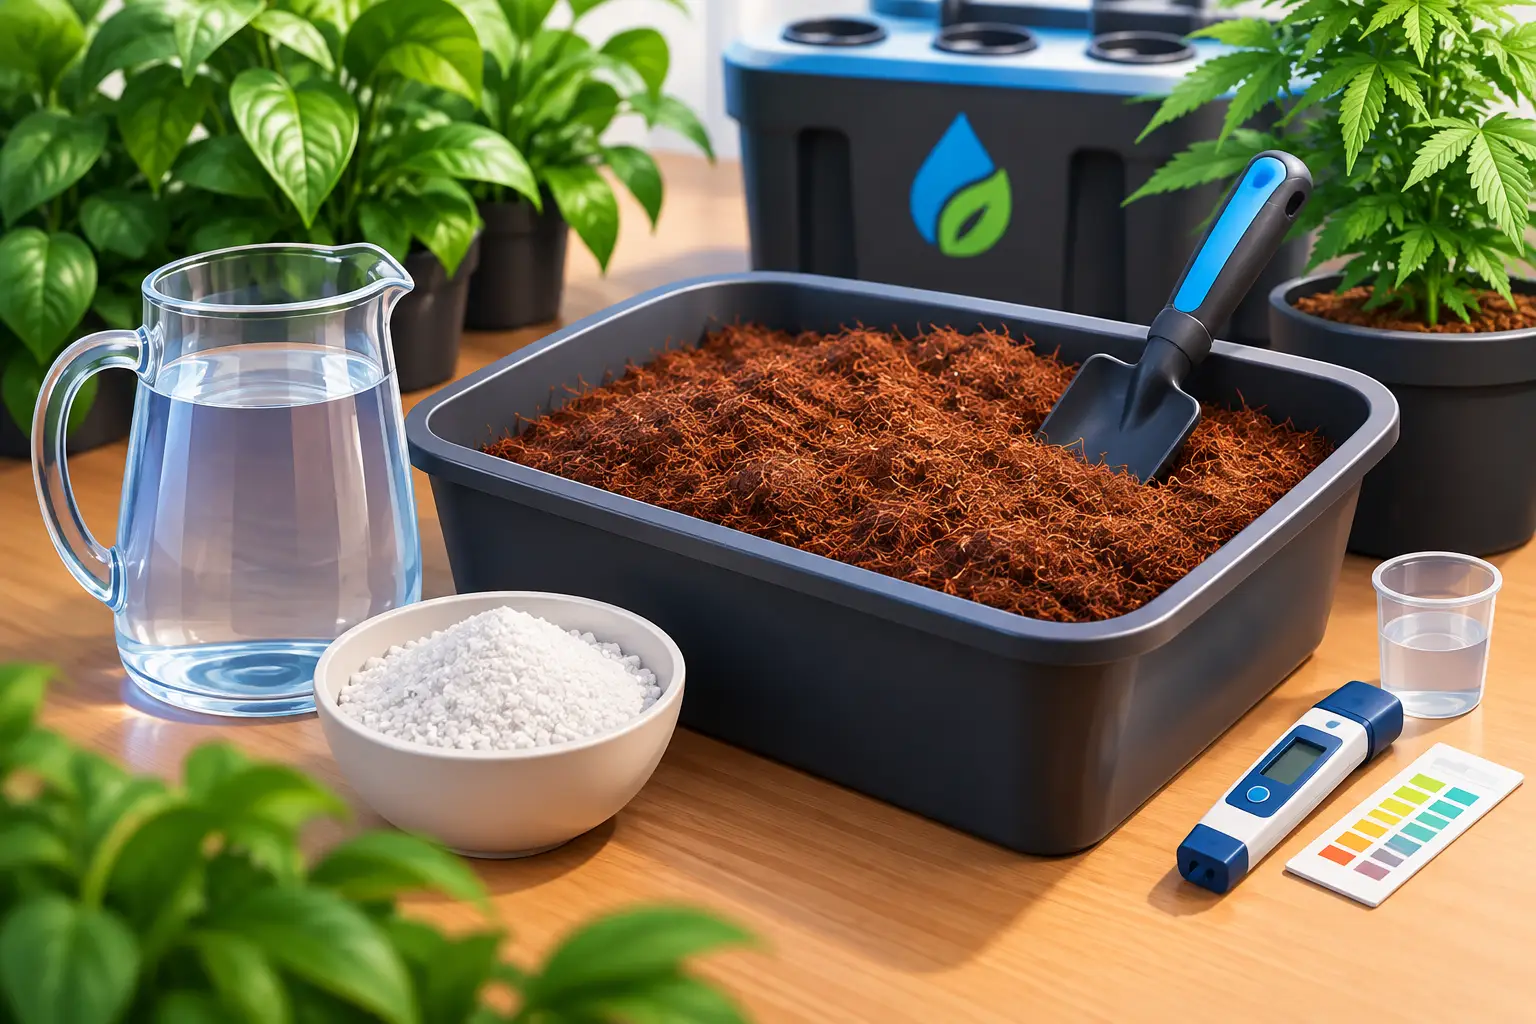
You need clean water, a large tub or reservoir, a calcium and magnesium supplement suited to hydroponics, and a pH and EC meter. A clean bucket works for a few pots; a larger reservoir makes life easier when preparing a full run.
Use a product designed to supply available calcium and magnesium, rather than relying on a general fertiliser. Follow its label rate, then use your EC meter to confirm the finished solution is in a moderate range. For most unbuffered coco, a solution around 1.2 to 1.8 mS/cm is a practical target. The best figure depends on your starting water, the supplement concentration and how heavily the coco was processed.
If your tap water begins with a high EC, account for it. Hard water already contains minerals, but it may not provide calcium and magnesium in the ratio your coco needs. Starting with filtered or rainwater can make the process easier to measure, provided the water is clean and suitable for growing.
Adjust the solution to around pH 5.8 to 6.2. You are preparing a hydroponic-style root zone, so there is no benefit in buffering at an unsuitable pH and then expecting the medium to correct itself once plants are added.
How to buffer coco coir step by step
1. Hydrate and break up the coir
Place the coir in your tub and add enough water to fully expand it. Break apart compressed sections by hand until the material is evenly moist and loose. Dry pockets are common in bricks and can prevent an even wash or buffer.
If you are blending coco with perlite, buffer the coco first. Perlite improves drainage and air-filled porosity, but it does not need calcium-magnesium conditioning and will only take up space in your tub.
2. Rinse away excess salts
Flush the hydrated coir with clean water before adding your buffer solution. Stir it through, let the coir settle, then drain the water away. Repeat until the runoff EC falls to a reasonable level for your source water.
There is no single runoff number that suits every setup. What you are looking for is a clear downward trend and runoff that is not dramatically higher than the water going in. If your incoming water measures 0.3 EC and the first rinse runs out at 2.5 EC, keep washing. If the runoff is close to your input after a couple of rinses, the coir is ready for the next stage.
Do not overthink the colour of the water. Coco tannins can make rinse water tea-coloured even after salts have been reduced. EC tells you more than colour alone.
3. Soak in a calcium-magnesium solution
Cover the rinsed coco with your prepared calcium-magnesium solution. Make sure every part of the media is wet. Press down floating dry sections and stir the tub so the solution can contact the whole batch.
Leave it to soak for at least eight hours. Overnight is convenient and works well for most home growers. For especially raw coir, a 12 to 24-hour soak gives the exchange sites more time to take up calcium and magnesium.
Avoid leaving coco sitting for days in a warm, dirty tub. Stagnant water can lose oxygen and become a breeding ground for unwanted microbes. A deliberate overnight soak is useful; forgotten media is not.
4. Drain, then check the runoff
Drain the buffer solution thoroughly. You do not need to rinse the coco back to zero EC, because that can strip out some of the conditioning you have just added. Instead, collect a little runoff or perform a small media slurry test with clean water and check EC and pH.
The readings should now be stable and sensible for a fresh coco crop. If EC remains excessively high, give the coir a light rinse with a weaker calcium-magnesium solution rather than plain water, then drain again. This keeps the media conditioned while reducing excess concentration.
5. Fill containers and begin feeding
Fill your pots without packing the coco down hard. Roots need the air spaces that make coco so effective. Water the filled pots with a light, complete coco nutrient solution, not plain water alone.
From day one, feed often enough to keep the root zone evenly moist but not waterlogged. Small plants in large pots need less frequent irrigation than established plants with a dense root system. As roots develop and conditions warm up, increase irrigation events rather than giving one huge drench.
Common buffering mistakes that cost growers time
The most common mistake is assuming any calcium-magnesium product at any dose will do the job. Too little calcium and magnesium may not condition the coir adequately. Too strong a solution can leave a high EC that stresses young plants. Mix accurately, measure with a reliable EC meter and work within the product’s recommended range.
Another mistake is treating a nutrient deficiency after planting by continually adding more Cal-Mag without checking runoff. If the media started poorly buffered, the root zone may also be carrying excess potassium or sodium. Test your input and runoff EC and pH before changing several variables at once.
It is also worth avoiding repeated plain-water flushes in coco unless there is a clear reason. Coco performs best with a balanced nutrient solution available around the roots. Plain water can dilute the root-zone nutrition and, in poorly buffered media, may encourage further calcium and magnesium imbalance.
Finally, do not assume every issue is a buffering issue. High temperatures, poor root-zone oxygen, incorrect pH, overwatering, pest damage and unsuitable nutrient strength can all affect plant health. Buffering creates a stable foundation, but lighting, airflow, irrigation and environmental control still shape the final result.
Do you need to buffer pre-buffered coco again?
Usually, no. If the manufacturer clearly states the coco is washed and buffered, re-buffering is generally unnecessary. Overhandling can create more work and may introduce contamination if your tubs, water or tools are not clean.
A quick hydration and initial runoff check is still a smart habit, particularly with a new brand or a different batch. If the runoff EC is unexpectedly high, a gentle flush with a light nutrient solution can bring it back into range. For growers chasing consistent results cycle after cycle, measuring is more useful than guessing.
At Hunter Hydro, the aim is to make bigger yields simple, and that starts with matching the medium and nutrient approach to your system. A well-buffered coco base gives young roots the calcium and magnesium access they need, so the rest of your feeding program has a fair chance to do its job.
Take the extra evening to prepare uncertain coco before planting. Strong, even early growth is easier to maintain than a root-zone problem you are trying to chase halfway through the crop.