How to Clean a Hydroponic Reservoir Properly
A reservoir can look clean while quietly working against your plants. A thin layer of biofilm inside a hose, nutrient salts crusted around a pump, or old root matter near an airstone can affect oxygen levels, pH stability and nutrient uptake. Knowing how to clean hydroponic reservoir systems properly gives each new crop a healthier start and makes day-to-day management far easier.
For most home growers, a full clean between crops is the right baseline. However, a reservoir may need attention sooner if the solution smells off, turns cloudy, develops slime, or shows unexplained pH and EC swings. The goal is not to sterilise every part of the grow room at all times. It is to remove the residue and microbes that can build up where nutrient solution, warmth and organic matter meet.
When should you clean your reservoir?
Empty and clean the reservoir after every completed crop or before introducing fresh plants. This is especially worthwhile if you have had root disease, algae, pest pressure, nutrient lockout or a system outage during the previous run.
During an active grow, avoid stripping down a healthy system without a reason. Replacing the nutrient solution and wiping accessible surfaces is often enough. A complete clean can disturb plants and their feeding schedule, particularly in recirculating systems with a large root mass. Let plant health and water quality guide the decision.
Look for a clean sooner when you notice brown or slippery deposits, blocked drippers, slow pump flow, a stale smell, foam that does not settle, or a reservoir that becomes difficult to keep within target pH. These signs do not always mean disease, but they do tell you that residue is accumulating.
What you need before cleaning
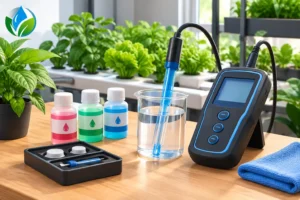
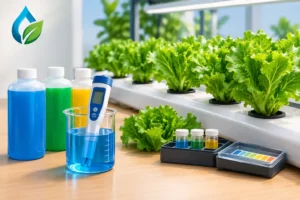
Set aside clean buckets, a soft brush or non-abrasive scourer, microfibre cloths and a dedicated measuring jug. You will also need fresh water, a suitable reservoir cleaner or sanitiser, and pH and EC meters that have been rinsed and calibrated. For larger systems, keep a wet-dry vacuum or pump handy to remove the last of the old solution.
Choose a cleaner made for hydroponic equipment where possible, and follow its label rate and contact time. A diluted, unscented bleach solution is sometimes used to sanitise empty systems, but it must be thoroughly rinsed and should never be mixed with acids, peroxide products or other cleaners. Mixing cleaning chemicals can create dangerous fumes or reactions. If you are unsure which product suits your nutrient line, pump or irrigation fittings, ask before using it.
Wear gloves and work in a well-ventilated area. This is simple housekeeping, but it protects both you and the beneficial equipment you have invested in.
How to clean a hydroponic reservoir step by step
1. Remove plants and drain the old solution
If you are cleaning between crops, disconnect and remove plants before draining the reservoir. Do not pour used nutrient solution into stormwater drains or waterways. Small amounts can be diluted and used on established soil garden plants if the nutrient strength is reasonable and there are no disease concerns. Otherwise, dispose of it responsibly according to local guidance.
Switch off pumps, heaters, chillers and air pumps before disconnecting them. Drain as much liquid as possible, then tip or vacuum out the remaining sediment from the lowest point of the reservoir. This last bit is often where roots, salts and debris collect.
2. Take apart the parts that hold residue
Remove the lid, pump, airstones, filter screens, irrigation lines, drippers and any fittings that can be safely separated. A quick wipe of the reservoir alone misses the places where biofilm commonly survives.
Inspect each component as you go. Airstones can clog over time and lose airflow, while pump impellers can collect fine root material. If a hose is stained, brittle, permanently blocked or difficult to flush, replacement may be better value than repeated cleaning. Clean equipment is useful only when it still performs properly.
3. Wash away scale and organic matter first
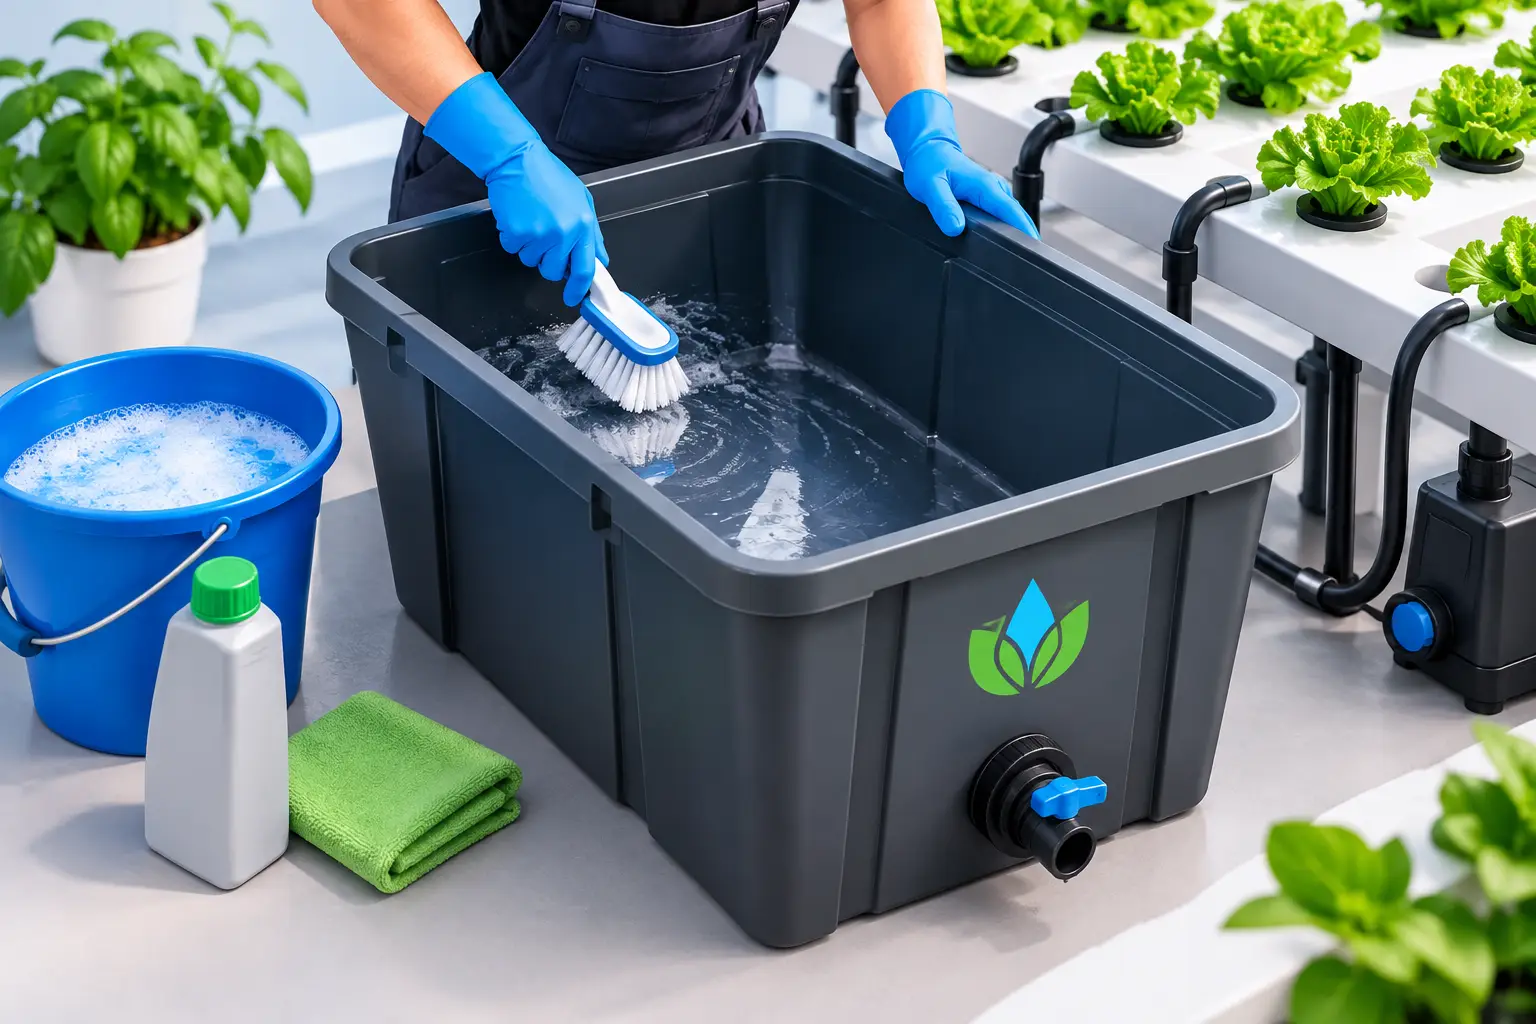
Rinse the reservoir with warm water, then scrub the walls, base, corners and lid with a soft brush. Pay close attention to fill ports, float valves, bulkhead fittings and the underside of lids, where condensation and algae can develop.
This first wash removes visible nutrient salts and plant debris. Do not use abrasive pads on plastic reservoirs, as scratches create more surfaces for residue to cling to later. For stubborn mineral scale, use a cleaner suited to hydroponic equipment rather than forcing it with harsh scrubbing.
4. Sanitise the empty system
Once the visible grime is gone, apply your chosen sanitising solution at the correct dilution. Fill or circulate enough solution to contact the reservoir walls, pump, hoses, fittings and irrigation lines. For recirculating systems, run the pump long enough for the solution to travel through every line and dripper.
Contact time matters. Draining a sanitiser immediately may leave behind the very film you are trying to remove. Follow the product instructions rather than assuming stronger or longer is always better. Some materials, including certain metals, seals and soft plastics, can be damaged by unsuitable chemicals.
Do not run cleaning solution through a system containing plants. Even low residues can burn roots or interfere with nutrient uptake.
5. Rinse until there is no residue
Drain the sanitising solution completely, then rinse the reservoir and components with clean water. Reassemble the system, fill it with fresh water and run the pump through all lines before draining again. Repeat if the cleaner label requires it or if there is any smell, foam or visible residue.
This is the step that prevents a clean-out from becoming a plant problem. Pay extra attention to long irrigation lines, chillers and pumps, as these can hold a surprising amount of liquid. A final rinse with low-EC water gives you a useful check that old nutrient salts have not been left behind.
6. Rebuild and restart with fresh nutrients
Put the system back together and check that every connection is secure. Confirm pumps are moving water evenly, airstones are producing consistent bubbles and drippers are flowing as expected. It is much easier to spot a blocked line before plants return.
Fill with fresh water, add nutrients in the recommended order, then measure EC and pH after the solution has circulated. Temperature also matters: warm nutrient solution holds less dissolved oxygen and gives algae and pathogens better conditions. Keeping the reservoir shaded, covered and within a suitable temperature range helps preserve the clean start you have created.
Keep the reservoir cleaner between changes
A few regular habits reduce the need for heavy cleaning. Keep the lid on to block light and limit algae. Remove fallen leaves and roots before they break down. Check filters and pump inlets weekly, especially in systems with vigorous roots. Make sure return water does not splash dirt or growing media into the reservoir.
Accurate pH and EC readings also help. A meter with nutrient residue on its probe can send you chasing a problem that is not there, so rinse probes after use and store them as directed. If EC rises sharply while the water level falls, plants may be taking up more water than nutrients. That is a nutrient-management issue, not necessarily a reason to add more product or clean the tank immediately.
Beneficial microbes add another consideration. If you run a biological nutrient program, avoid routine aggressive sterilisation while plants are in the system, as it can remove the microbes you intend to maintain. Clean thoroughly between crops, then reintroduce your chosen biological products with the fresh nutrient solution. If you run a sterile system, consistency with your approved sanitising approach matters more.
A clean reservoir is one of the simplest ways to protect root health, stabilise feeding and keep your equipment working as it should. If your setup has unusual plumbing, recurring slime or persistent pH issues, the Hunter Hydro team can help you match a practical cleaning routine to your system and growing goals.