Hydroponic Seedling Propagation Tray Guide
A hydroponic seedling propagation tray is a small piece of equipment with a big influence on the rest of your grow. Get propagation right and you begin with evenly rooted, sturdy young plants that handle transplanting well. Get it wrong and you can spend weeks chasing uneven growth, weak stems, algae, damping-off or seedlings that never quite catch up.
For Australian growers working in tents, greenhouses, patios or dedicated grow rooms, a propagation tray creates a controlled starting point. It keeps your plugs, cubes or small pots organised, catches runoff and helps you manage moisture around the root zone while seedlings establish. Bigger yields are made simple when each growth stage is set up to do its job properly – and propagation is where that starts.
What a hydroponic seedling propagation tray does
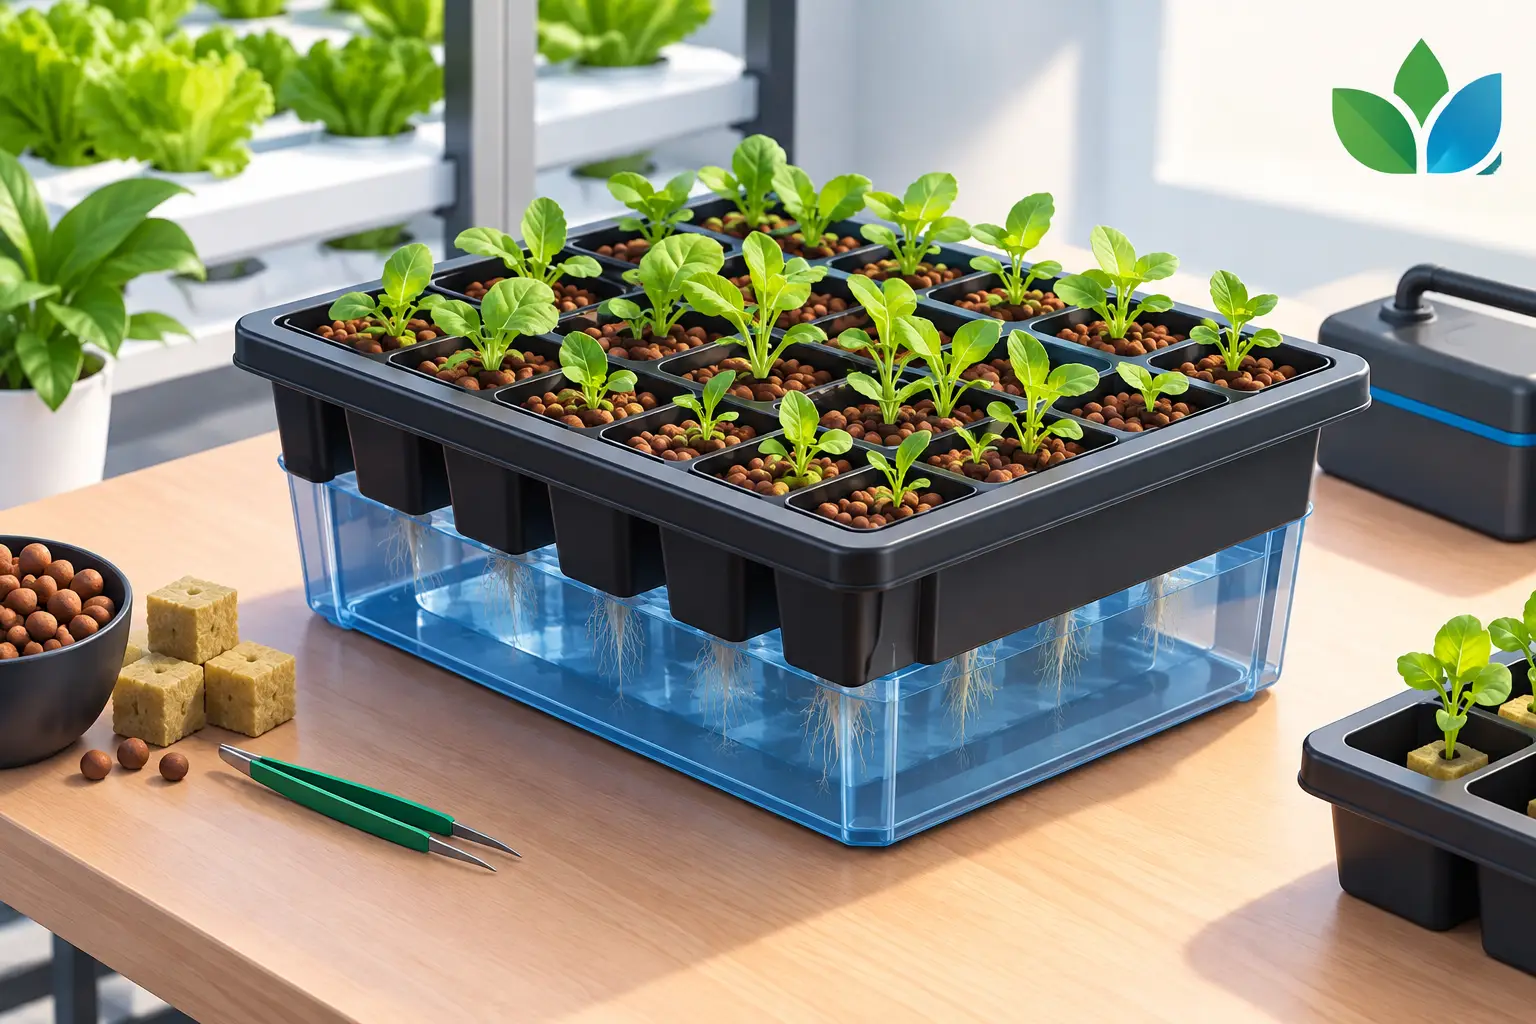
A propagation tray is a shallow, waterproof tray designed to hold seedlings during germination and early vegetative growth. It is commonly paired with a cell insert, starter plugs, rockwool cubes, coco coir, peat-free media or small nursery pots. In hydroponic setups, it also makes bottom watering and light nutrient feeding far more manageable.
The tray itself does not feed plants or produce roots. Its value is consistency. It gives every seedling similar access to moisture, warmth and airflow, making it easier to spot problems before they become a tray-wide setback.
A solid tray also protects benches and tent floors from runoff. This matters when you are working with nutrient solution, especially in a compact indoor space where spills can affect electrical gear, create excess humidity or encourage fungus gnats.
Choose the tray to suit your propagation method
The best hydroponic seedling propagation tray depends on what you are growing and how you plan to transplant it. A low-profile open tray may be all you need for herbs or leafy greens started in plugs. Larger plants, longer propagation periods and cuttings often benefit from a sturdier tray with a matching humidity dome.
Standard trays for plugs, cubes and small pots
A standard propagation tray suits most home growers. It can hold cell packs, individual starter pots or propagation cubes, and gives you flexibility to change plant numbers from one run to the next. Choose a rigid, reusable tray if you expect to carry it regularly or place it on a heat mat. Thin trays can work for occasional use, but they may bow when full of wet media.
The internal dimensions matter more than the label. Check that your chosen insert, cube size or pot size sits flat without being compressed. Crowding reduces airflow and makes it harder to inspect each seedling.
Cell inserts for uniform seedlings
Cell inserts bring order to larger batches. Each seedling receives its own root zone, so roots are less likely to tangle before transplanting. They are particularly useful for lettuce, basil, Asian greens and other crops you want to establish quickly in an NFT channel, deep water culture system or drip-fed garden.
Smaller cells save space but dry out faster and limit root development. Larger cells give seedlings more time before potting on, though they use more media and occupy more room under lights. There is no universal best size. Match cell volume to the crop and how long it will remain in the tray.
Trays with humidity domes
A clear dome holds moisture around emerging seedlings and fresh cuttings. This can be helpful during the first few days, particularly when your grow room air is dry or moving air from fans is stronger than seedlings can tolerate.
Humidity is useful, but permanent high humidity is not. Once seeds have emerged or cuttings begin to root, open the vents or lift the dome regularly. Gradually exposing young plants to normal room conditions encourages stronger leaves and reduces fungal pressure. If condensation is running down the inside of the dome all day, ventilation needs attention.
Build a reliable propagation environment
A quality tray works best as part of a simple system. Seedlings need a stable root zone, gentle light and clean water. You do not need to overcomplicate it, but a few environmental controls make a visible difference.
Most seeds germinate well with consistent warmth, often around 20-25°C depending on the species. A thermostat-controlled heat mat can help in cool garages, greenhouses and winter grow spaces across NSW. Place the mat beneath the tray, not directly under a reservoir of deep water, and follow the equipment instructions to avoid overheating the media.
After emergence, provide adequate light immediately. A propagation LED or dimmable grow light is ideal because seedlings need enough intensity to develop compact growth without bleaching. Lights placed too high often lead to stretching. Lights too close or too intense can stress tender leaves. Watch the plants: long, leaning stems mean they need more usable light, while pale patches or curling may mean they need less intensity or more distance.
Air movement is just as valuable. A gentle fan strengthens stems, refreshes the air around leaves and lowers the chance of disease. Do not point a fan directly at freshly emerged seedlings. You want a slight movement of foliage, not plants bending over in the breeze.
Water seedlings without drowning the roots
Overwatering is one of the most common propagation issues because a tray can make it tempting to leave water sitting underneath all the time. Seedlings need moisture, but their roots also require oxygen. Constantly saturated media slows root development and creates ideal conditions for root disease.
Bottom watering is often the cleanest approach. Add a shallow amount of water or weak nutrient solution to the base of the tray, allow the plugs or media to wick it up, then remove any excess after a short period. The exact timing depends on your medium. Coco may hold moisture longer than some plugs, while rockwool needs careful watering because it can stay too wet internally even when its surface appears dry.
For seeds, start with clean water adjusted to an appropriate pH for your medium and crop. Once true leaves are developing, a mild nutrient solution can support growth. Keep the EC low. Young roots are sensitive, and stronger feed is not a shortcut to faster plants. If leaf tips burn, growth stalls or the surface develops a crust, review EC and watering frequency before adding more products.
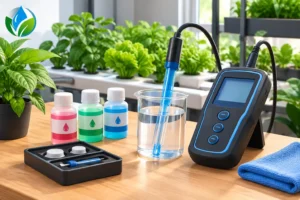
Good water quality is especially important in recirculating systems and for growers using tank water. A reliable pH and EC meter lets you measure rather than guess. That is how you keep a small propagation issue from becoming an expensive problem after transplanting.
Keep the tray clean between runs
Propagation equipment sees plenty of moisture, plant debris and nutrient residue. Cleaning trays between batches is a basic habit that protects your next crop. Remove all old media and roots, wash the tray, then sanitise it with a suitable horticultural cleaner. Rinse as directed and let it dry before reusing.
This is not just about presentation. Algae, fungal spores and pest eggs can persist in dirty trays, especially around corners and drainage channels. If you have dealt with fungus gnats, damping-off or root problems before, improving tray hygiene is one of the most useful changes you can make.
Avoid reusing diseased plugs or trying to rescue badly affected seedlings in the same tray as healthy ones. It is often better to remove the problem early and protect the plants with the best chance of becoming productive adults.
Know when seedlings are ready to move on
Do not transplant by calendar alone. A seedling is ready when its roots hold the plug or media together without becoming densely circling, and it has developed enough true leaves to handle the change. It should look compact and balanced, with a healthy root system rather than a tall stem trying to compensate for poor light.
Before moving seedlings into a hydroponic system, make sure the new environment is prepared. Check water temperature, pH, EC, irrigation timing and light height first. A good propagation tray produces strong starts, but transplant shock can still set plants back when the receiving system is too cold, too wet or too strong in nutrients.
For seedlings headed outdoors or into a greenhouse, harden them off gradually. A few days of increasing exposure to brighter light, temperature variation and airflow gives tender leaves time to adapt. This step is particularly worthwhile when moving plants from a controlled indoor setup into the Australian summer sun.
A well-chosen tray will not replace good growing practice, but it makes good practice easier to repeat. Start with the right tray size, keep moisture and nutrition measured, and give seedlings the light and airflow they need. If you are unsure which propagation setup suits your crop, space and next growing system, the Hunter Hydro team can help match the gear to the way you actually grow.